Joyfill Managed
Generate PDF files with the Joyfill API
Overview
In this guide I'm going to show you how to utilize the Joyfill Managed PDF Export API to generate downloadable PDFs.
Guide
Setup Requirements
- Complete Setup
Implementation
Step 1: Retrieve identifier
You can retrieve the document or template identifier that you want to export via the Joyfill Manager (see screenshot below) or by using the Joyfill API.
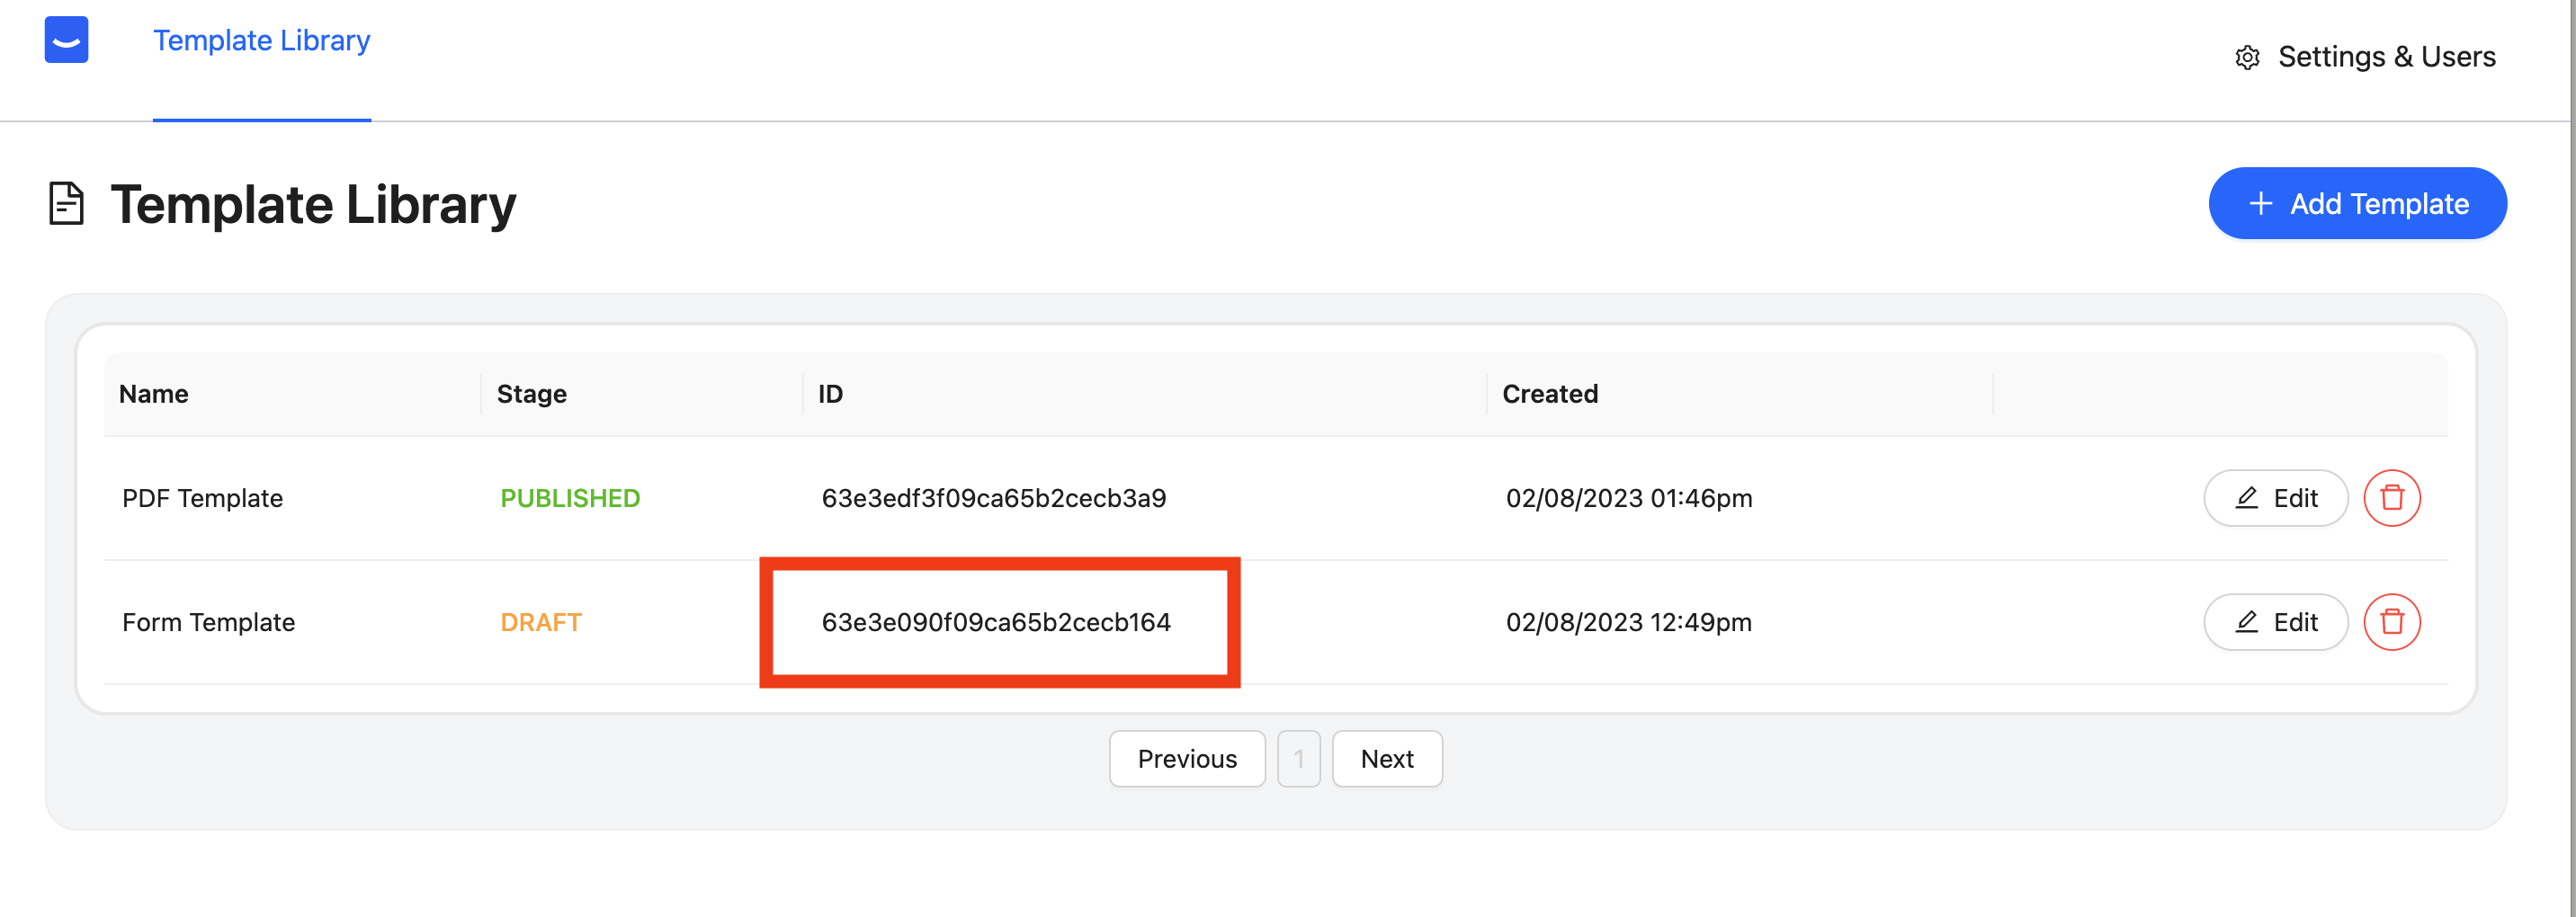
Joyfill Manager Example
Identifiers will be unique to your organization. Ensure you use the identifiers from your account. Do not use the ID from the screenshot above because it will not work for you.
Step 2: Generate PDF
Once you have your identifier you can generate a PDF by using the Export PDF API route.
Examples
Postman
To send our HTTP request we are going to be using postman. Feel free to use whatever tool you want to make an http request to our Export API.
a. Add URL

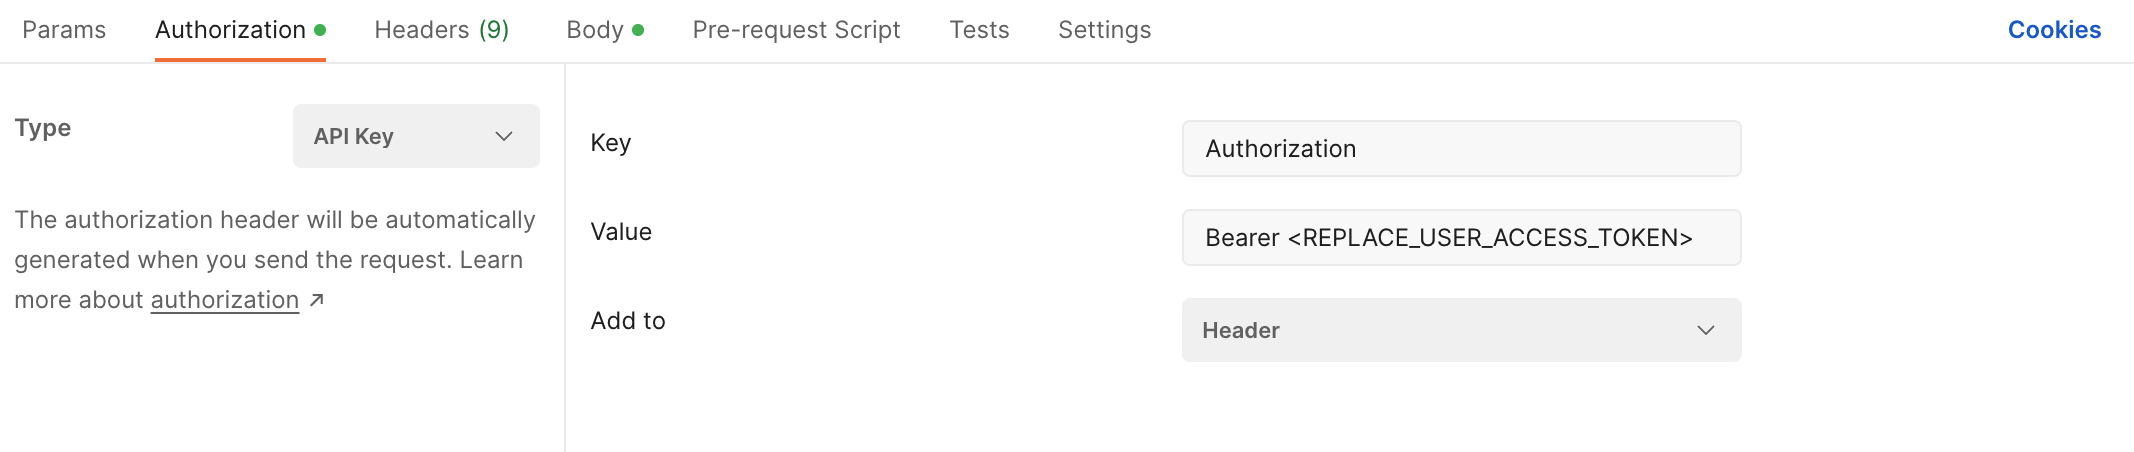
b. Configure Authorization
- Type: API KEY
- Key: Authorization
- Value: Bearer <User_Access_Token>
- Add to: Header
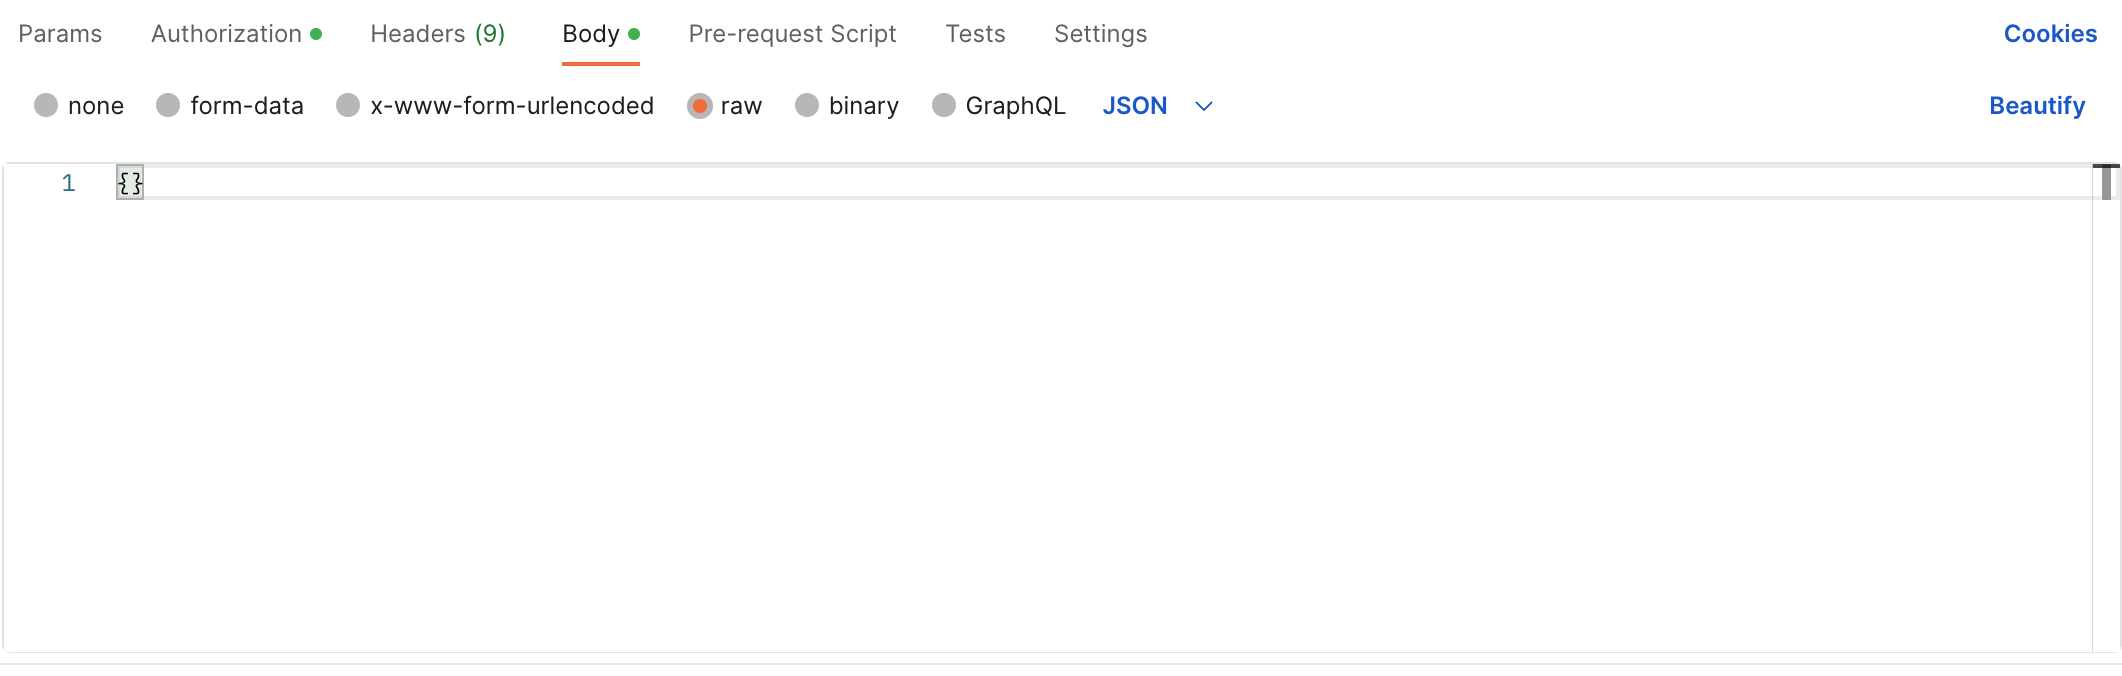
c. Add Body
Important Note: You must add an empty object in the body.
Updated 5 months ago